Wednesday, August 14, 2013

Lilla Rose Review and Hair Tutorials

 There are lots of fun perks to being a part of the blogging world, but my favorite has been meeting new people and forming friendships.  For our military family, having friends all over the world is just a normal part of our life.  I want to introduce to to one of those friends who has blessed me with the opportunity to write a review for her.  Meet Jennifer, fellow friend,  TOS CREW reviewer, and a Lilla Rose consultant!

You can find her on her Lilla Rose website or on her Facebook page or Pinterest.  Jennifer was looking for a few people to review her Flexi Clips and since we have three girls in this family with longer hair, how could I refuse! ;)  This is what we got in the mail -


THREE!  Yes, three to try! The top black one is a small size and the bottom two are mediums.  If you have never used these clips there is a sizing video on the website that I would encourage you to watch before you order.  It is most helpful and will show you how to do a few things as well.  The company also offers pony tail holders, hair sticks, bobby pins and hair bands as well as the prettiest badge holders!  You should see our "to order" list!

So what did we think?

Michele: (that's me!) These little gems are ingenious.  They are once piece clips that are pretty easy to use. The girls, of course, had no problem at all from the first time.  It took me a while to get used to it, but I can now put them in without a mirror.  If you have your sizing correct, these will stay put all day without slipping.  Since I have fine hair, that is a challenge for me!  If I were wearing just a pony tail, I would opt for a extra small size.  We did find that it was easier to put them in your own hair than others,  but that just may be our lack of hair experience.  Again, the girls were better at it than I was.

Medium size
Ashton: There is a pretty wide range of hair types in this family, mom has very fine hair, Riley has lots of hair but it is pretty smooth and straight, and I have course, wavy/curly hair that is shorter.  We loved that the Flexi Clips worked on all of our different hair types!

Please excuse my arm, trying to take a picture of the back of your head is hard. -Ashton

Ashton: Riley and I had so much fun trying hairstyles with the Flexi clips, and we thought we would share two hair tutorials with you - one easy and one harder, both using the Flexi Clip!  The lovely Riley is my model for both.  (Note, the first hairstyle you can do on yourself, the second is much easier to do on someone else.)

 This first one is pretty easy and perfect for everyday, all you have to know how to do is French Braid, its easy! (If you don't know how to french braid there are lots of tutorials on youtube.) 

1. Make a part pretty far to one side of the head. 

2. Divide the hair into three sections.

3. French Braid, creating a "crown." 


4. Continue French Braiding to right above the ear, then...

 5. Insert a small or Mini Flexi Clip, depending on your hair type. (Riley has a lot of hair so we were able to use the small, but a Mini would probably work best)

 Done! 
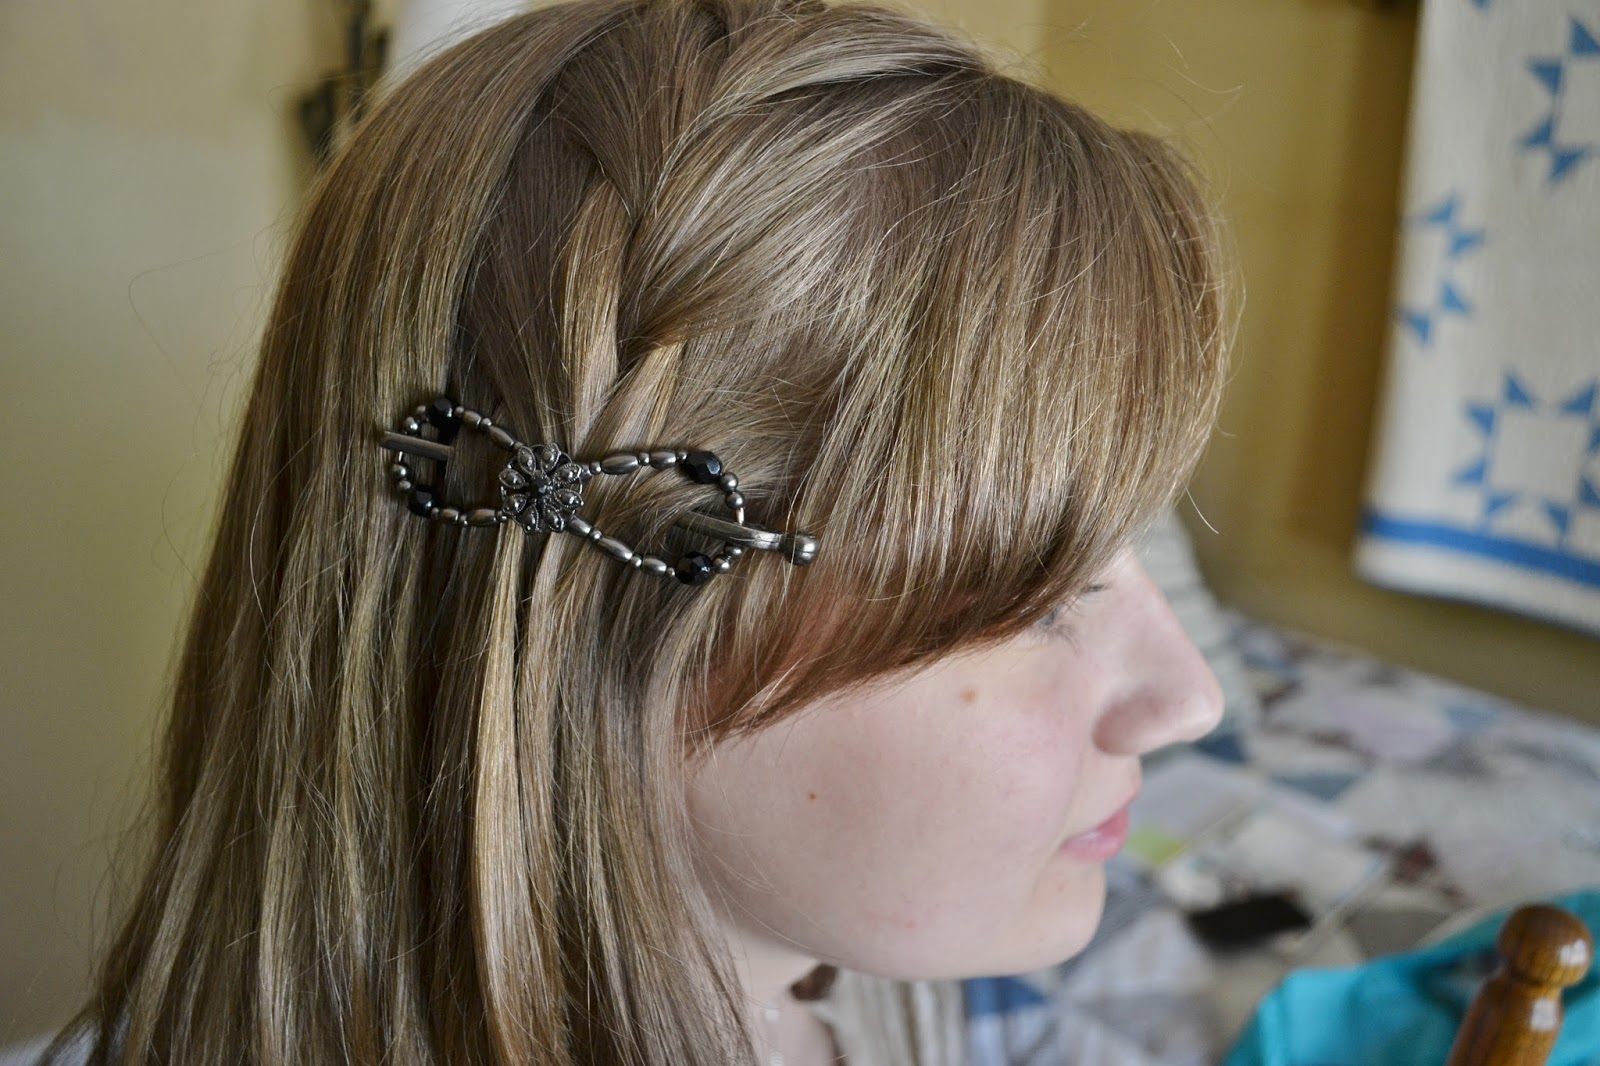
 That was easy. =) 


Here is the second tutorial! This one is more complected - a Triple Waterfall braid - and you do have to know how to waterfall braid, but the result is a really pretty and fancy up-do! Just go slow and maybe practice a few times. (Note, the key is to keep the braid really tight and the sections about the same thickness. You can learn how to waterfall braid on youtube.)

1. Part your hair slightly to the side, and, starting on the side with more hair, separate a section of hair. (I left her bangs out)  

 2. Divide it into three sections.


3. Start to french braid, crossing piece 1 over and then piece 3, and then adding to section number 2 (on the top) before crossing it over. 

4. Now, instead of  adding hair to the next piece and crossing it over, (number 1 in the previous picture) drop it and pick up a similar sized piece from directly behind the piece and cross it over instead.


4. Repeat until you reach the other side of the head, (add and cross on the top; drop, pick up behind and cross on the bottom,) trying to keep the braid fairly even so it hits right above the ear. 

5. Braid the rest of the way down and secure with a hair tie.


6. Now, go back to the other side of the head, where you started.  Holding the dropped piece out of the way, pick up a new section to braid. You are going to do the same thing you did before, adding on the top and crossing; and dropping, picking up from behind and crossing on the bottom except...


7. When you add on the top, only add the dropped piece from the first time, instead of just grabbing hair to add. 

8. Continue this all the way around, braiding once you reach the end. and then tying it off with an elastic. 

 9. Repeat steps 6-8 again, only adding the dropped piece from before to the top before crossing but picking up the last of the hair on the bottom, so that all the hair is up and braided. 

 10. Next, braid the three braids together...

 Tying them off together at the end and removing the previous hair ties. 

 11. Arrange the braid on the side of the head, either in a bun or in an oval shape if you have a lot of hair.

 12. Insert the correct sided Flexi Clip for your hair type and thickness (I used a medium for Riley) and there you go! Perfect for church or a special occasion.


I'm back! (Michele): See, fun and easy as well as affordable!  Prices vary according to size and design, but you can plan to spend from about $11.00 to $22.00 for the fancier clips.  Jennifer has a special for any new customers, if you buy 3 or more you will receive a one item free up to $16.00.

I would love for you to pop on over to her website and see what you think!
THANKS Jennifer for blessing us!

Blessings, 


Tuesday, August 13, 2013

TOS CREW Review- Picaboo

Do you scrapbook?  I have been doing it for years at all levels.  I mean, really, I have the paper cutters, corner rounders, endless piles of paper, stickers and even stamps.  For over 18 years I have tried to capture my children's lives in beautiful albums. A few times I have even managed to be caught up.  A. Few. Times!

But now, with four older kids and less free time I have found myself losing the battle and all those supplies now just sit staring at me and making me feel guilty.  I have even donated much of it to friends just to try to not feel so badly about it.  I need help!

DIGITAL!  Yes, that is what I need.  Surely I can learn to cut and paste things via the computer!

I have fought it for too long and now is the time to embrace the change and the challenge and get caught up!


 photo 67706_520522131306078_514079593_n_zps2983de7c.jpgSeveral CREW members used Picaboo with so much success that it has convinced me to get on their site and have a little fun.  Not only am I going to work on catching up all of our personal pictures, but I am now determined to create a school year book, highlighting our year.  It may be too late for the olders, but I can't wait to get started with our new first grader! If schools can do it, why can't we homeschoolers as well?

Picaboo Yearbooks are a fun way to create a one of a kind album for your child's school year.  Starting at $8.48 for a 20 page softcover book this product is so affordable.  Of course, if you are a hard cover person, those too are available.  The site is easy to navigate and so you can get even your younger children on board to help.  What a great family project!

One of the features of this site that I find simply amazing is that if you are using it to create a true Yearbook for a group, say a homeschool co op or Girl scout group, you can set up the pages as the "editor", then assign each individual section to a specific person to work on.  They are able to add to those particular pages and then you approve it.  Picaboo sets up a page just for your group and people can order directly from the site, eliminating the middle man.  How cool is that?

 photo picabooyearbook_zps0e1af50a.jpg

Because their are no minimum orders , this would also make a GREAT fundraiser for any homeschool group!

So, I am off to download some pictures and get started!  Want to join me?

 Disclaimer: This is an informational review. No product was received for this review. I am sharing as a part of the TOS Schoolhouse Review Crew. I am disclosing this in accordance with the FTC regulations.

Monday, August 12, 2013

More Bucket List Fun at the Children's Museum


This post is a little delayed due to last weeks Blog Hop, 5 Days Of Moving, posts, but I thought you might enjoy seeing another one of our Bucket List items checked off.  Pretty soon after we moved here we found the Children's Museum of South Dakota and promptly bought a seasons pass.  This place is fabulous!


I wish I had more pictures to show you but I forgot the camera and had to rely on my daughter's phone instead.  
With all of our moves, we have been to A LOT of Children's Museums.  This is by far one of our favorites.  I am amazed that such a gem in located in this little town.  There is a wonderful cafe inside and then room after room of fun to be had.

We found -

A water room - this is our destination next week as well.  Just. That. Room!  Trust me, you can spend a lot of time in there but be prepared to get wet!  Even the older kids liked it!

A music room - Be a part of the college band or make your own music

An art room - For scheduled activities or your own work.  Has a large window you can paint on!

Mail room, grocery store, post office.  All of the rooms are connected with phones so you can call from one to the other.  This was my 6 year olds favorite thing to do once he got started.  He was a little shocked the first time we called a room and someone answered and started talking to him.  Wish I had been able to get a picture of  the look on his face.  Hysterical!

An exercise room - The kids could see who could jump the furthest and measure their heart rate.

A farm - You could plant fruits and veggies, milk a cow and take produce to the grocery store.  We loved the corn!  There are even stuffed bugs you can put in there!


There are also different houses to play in including a tepee, a climbing structure that looks like a giant spiderweb and my favorite, a giant lite brite!  The big kids loved that as well.

And then there is the upstairs.
Large blocks to build things and rotating exhibits.

And then there is the outside part.
Tunnels to explore, giant sandboxes, a creek bed and waterhole to splash in, a fishing pond and two giant animatronic dinosaurs that the kids said rated up there or even better than the ones at The Creation Museum!  
A treasure of mind-stimulating and fun activities at a great price.  If you cannot find us at home on Friday afternoon's, look for us at the Children's Museum!

Have I mentioned I LOVE this town?

*This is not a review, nor am I an affiliate in any way.  This is just my good 'ole opinion!

TOS CREW Review- Notgrass America the Beautiful

 photo notgrass_logo_zps18b23376.jpg America the Beautiful from Notgrass Company is a one year American History curriculum that combines history with geography, literature, bible and  creative writing for grades 5th-8th.  In 30, 5-lesson units, author Charlene Notgrass teaches students about American History from year 1000 to the present while weaving the Bible throughout.

We love History in our house.  Really we do.  But sometimes I have felt bogged down by the information presented and discouraged at the lack of Christian convictions and beliefs in the curriculum choices out there. I had heard several friends talking about the Notgrass curriculum, so I jumped at the chance to review this package.

The America the Beautiful Curriculum Package we received includes:
America the Beautiful- 2 full color, hardback books just under 1000 pages!
We the People- A hardback book with 150 primary source documents, from first hand accounts to legendary documents.
Maps of America the Beautiful- 30 maps that correspond with the lessons that your child will color and label while learning.
Timeline of America the Beautiful- An illustrated timeline that your child will add facts to from their readings.  Some facts are already written for their benefit.
America the Beautiful Answer key- For you the teacher, to ease the burden of checking answers to the lesson reviews, timeline, and workbook assignments.
In addition, we also received two supplementary items, the America the Beautiful Student Workbook, which has daily activities from crossword puzzles to fill in the blank activities and the America the Beautiful Lesson Review, which can be used at any time to test comprehension and retention of the material taught in America the Beautiful.
There is also an America the Beautiful Literature package  that contains 10 books to be read throughout this program.

About the program and how we use it-
 Though you can do this program with your child, it is designed and written to be read by the student himself.  That being said, we began by reading the lessons daily out loud together.  I would read one paragraph then my son would read the next.  Taking turns this way just made it more fun for us.  A few weeks ago we transitioned to him reading it on his own and doing all the work independently, but honestly I have missed not only the time spent together, but also the knowledge I was gaining so we will be going back to doing at least the reading together.  Yes, I am learning too!  I should have payed more attention to the teacher when I was in school it seems!
The lessons are clearly marked and filled with black and white as well as beautiful color pictures.  Each lesson is then followed by a list of activities for you to pick what to do that could include-
Thinking Biblically- A reading assignment from your Bible and often either something to think about or write in a notebook.
Map Study- This section directs you to a corresponding map to label and color.
Vocabulary- Words to look up and define from the chapter.
Literature- Directed reading in the We the People volume or assigned book reading.
Creative Writing- A fun activity to get your child writing.
Student Workbook or Lesson Review- Tells you the corresponding page activity for this lesson.  
At the end of each unit, after 5 lessons, there is also a family activity suggested that encourages something a little more hands on from the unit and helps the child use what they have learned to teach fellow members of their family.  Activities include making a longhouse, making Navahoe Flatbread and making Colonial Marbles and learning how to play the game.  Fun stuff and not so labor intensive that moms want to run screaming from the room.  Just saying.

What we thought about this program-
We like it!  Notice the present tense?  We are still using it and after much thought and prayer I have decided to walk away from the history program we have been using for YEARS and use this instead.  I like it that much!
I like how organized it is.
I like the beautiful books and pictures.
I like that my son gets to have a little fun in his worksheets but still learns the importance of original documents.
I like that God and faith are woven into practically each paragraph.
I like that quality Literature books are included.
I like that a student can do the program independently with little to no help from you if that is your desire.
I LOVE that my son reminds me it is time to do History!  Isn't that, after all, the sign of a good program?

Costs-
America the Beautiful curriculum package- $99.95
America the Beautiful Student Workbook- $11.95
America the Beautiful Lesson Review- $9.95
Literature Package- $59.95


Many fellow CREW members reviewed this program as well as an art program by The Notgrass Company.  You can see their thoughts by clicking on the banner below.
Photobucket

Friday, August 9, 2013

Fun Friday- Pizza Edition

So, have you been trying some new pizza recipes?  We are always up to new ideas, so when I saw a friend blogging about pizza I decided to give hers a try.  I mean, who wouldn't love stuffed crust and it is something we had never tried before.

YUMMY!

Stuffed Crust Pizza - The Best Pizza is Homemade

You can read about Laura's pizza adventures at her blog Day by Day in our World  and get her recipe there!
Trust me, your family will love this one!

Thanks for sharing, Laura!

Enjoy your Friday friends!

Blessings,